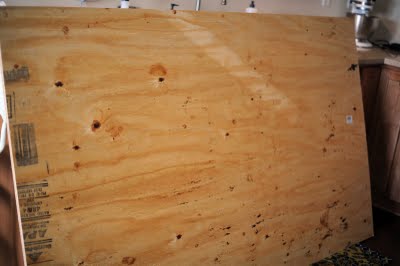
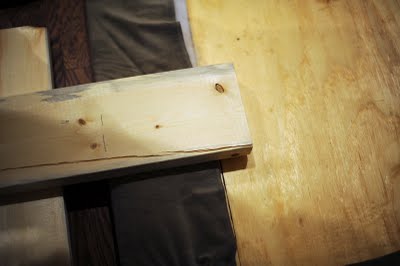
So I am redoing my bedroom, again. I am only going to show a snippet today because it still has quite a ways to go, but the bed is quite a large snippet I believe. I finally convinced my husband to let me make my own headboard. He was afraid it would look cheap, but he still gave me the go ahead.
The Supplies:
2 bags of extra loft batting
staple gun
just over 2 yards of fabric
plywood (thick enough so it would not bend)
2x4 cut into 2 ft legs
drill
screws
(I could have also used thick foam, but that would have added to the cost and I wasn't wanting anything to thick anyway.)The plywood I had cut at our local supply store into a 76x46 piece. We have a king size bed and with this size it makes the headboard tall and have the ability to go down to our box springs. That way from a side view you wouldn't be able to see the legs.I then took the batting and laid it out on the board and wrapped it around the back and stapled well. I used two bags of queen size batting to give the headboard some softness.
I repeated the above process with the fabric which was a remnant I found at a local fabric shop. It was only $8 a yard, yeah! The key to this step is to make sure you keep the fabric smooth. Pull taunt and then pull again, but be aware of creating ripples.
The final piece before adding legs. As you can see there are some wrinkles in my fabric. I tried ironing the opposite side, but being velvet it started to change the color so I am now just hoping they will work themselves out over time.
Next I attached the 2 foot legs to the back of the board with screws. These legs are 16" from the ground to the headboard. This gave clearance for outlets that are behind the bed.
My husband then helped me put the headboard behind the bed. We pushed our bed firmly up against the headboard and for us it seems firm enough. We could attach it to the wall at a later date if we feel a wobble, but so far so good.

Simple, quick, and budget friendly. I could not be more happy with the outcome.


